I had been waiting to purchase the newly released Mule Deer at Hivewire3D. I wanted the extra Antlers-AddOn aswell but I had to save my pennies before I could buy them. The thing is, I had an idea for some duo-poses that I really want to create.
From the moment I saw the Hivewire MuleDeer I was inspired by the deer that walk around in our own nature reserves here in the Netherlands, when they battle each other to be the favorite of the females.
When I start creating poses – for any character – I always start with collecting images of the kind of poses I want to create. I watch video’s of certain actions to get a better perception of the movement I wish to create in a pose, like I did for the ballet poses.
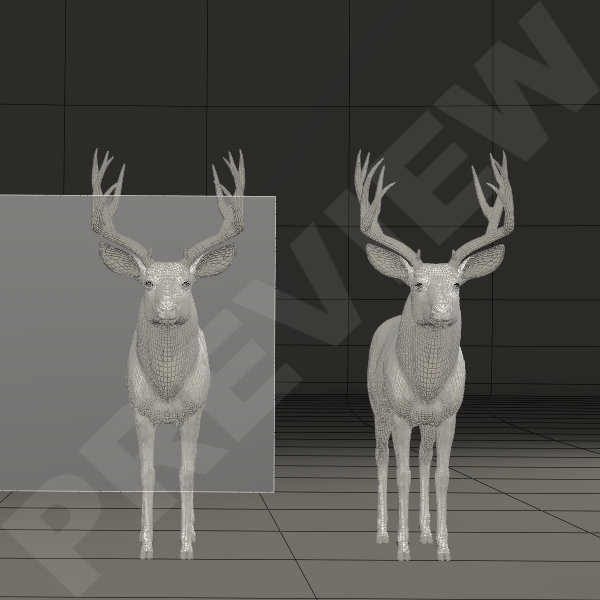
Then I make a Base-Workroom in wich I have the characters in Default and a simple Square-Plane that I use as a screen. In the Material room I project that particular image that I use as a reference for the pose.
The pose won’t necessarily be exactly the same as the photo. But it will serve as a general inspriation for the poses and a reference to how the bodies move. After all, the position of a foot starts with the thigh.
And I knew as soon as I had loaded the animals into the workspace, this was going to be a hard and difficult project. I knew, that the duelling deer wouldn’t be a real problem but their antlers would be. Because I want to have those poses with deer that carry the 5-point antlers of course. And I want the poses to be correct the full 360° round.
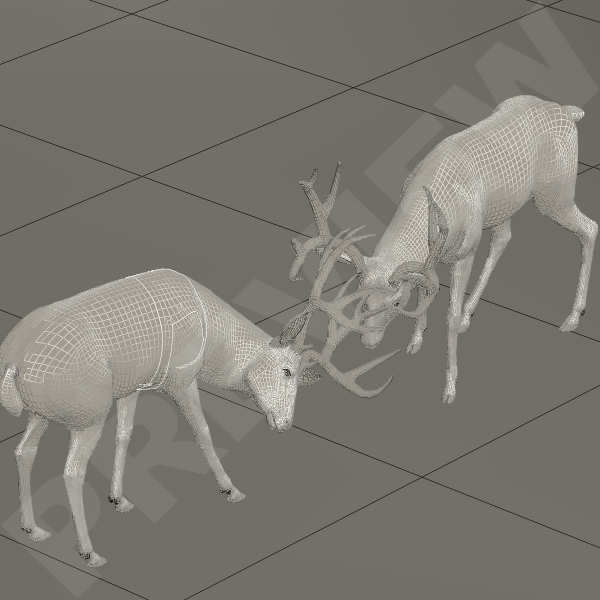
The plan is to have about 5 duo-poses in the set of the bucks duelling it out. The first pose is a simple pose to start them of and as usual I work in the Lit Wireframe mode so I can see the mesh more detailed. It always works perfect for me but this time I stumbled into a little problem with the second duo-pose.
I wanted the second pose to be more of a ‘head on’ pose. Of course the antlers must interlock but not poke through each other. Here I noticed the problem that I couldn’t quite see anymore where the antlers of one started and the antlers of the other ended.
For posing the antlers I needed a more solid texture and I switched to Smooth Shaded. This way I could see better if there were any poke-throughs.
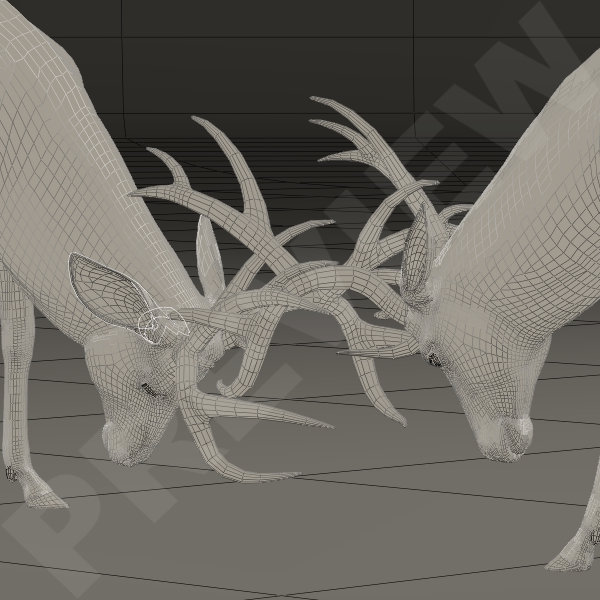

You can see the difference in the images above.
Posing the head and the antlers all starts with the Neck-parts so when I had the initial position of the head and neck – for each deer – the way I wanted, I started to have a closer look at the antlers and how they interlocked. It took alot of fiddling with the heads, very small changes of the heads Bending, Twisting or Side-to-Side motion.
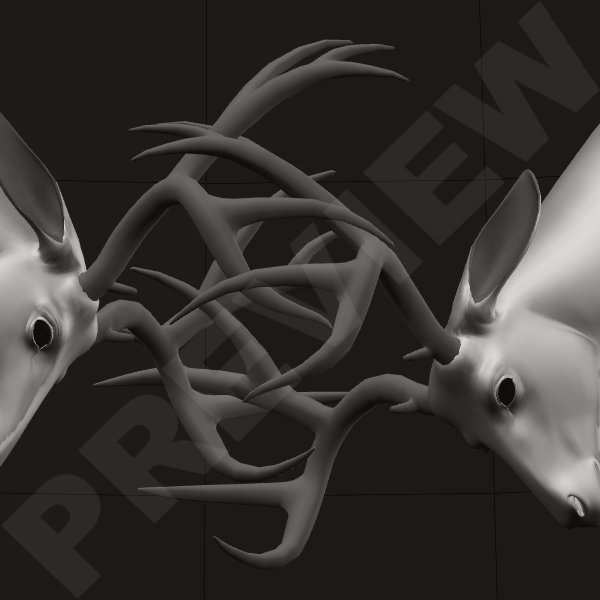
It becomes extremely tricky to pose these antlers exactly aligned. At this point I no longer turned the dials, I just changed the numbers in the settings with not more the 0.100 max. or 0.010 min. at a time. This was very labor-intensive, it took hours to get it right but it was worth it.
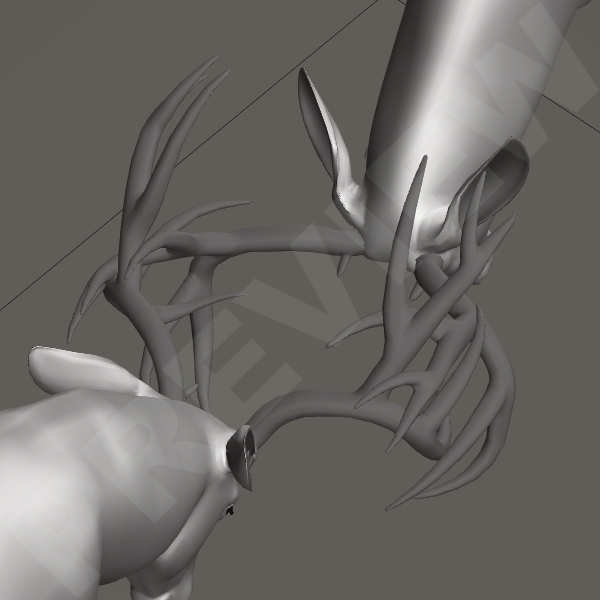
Every now and then I would stop and have a good look around the antlers to see if they were positioned just right, without poking through. When at one point I was satisfied, I quickly saved the pose. If there is anything I have learned in the years that I use Poser is to save-save-save and save again. It wouldn’t be the first time I lose all my work because I forget to save and Poser decides to crash. And if there is one piece of advice I can give to newly starting poser addicts – or Daz addicts – is that every now and then when you are working on an image, pose, texture or anything else, safe, safe, safe!
Greetz
Pommerlis


It’s like a three-dimensional puzzle. My left hand is always looking for command(ctrl)+s. Even when I’m not working on my computer ^ ^
LikeGeliked door 1 persoon